

How to Load the Roamate into a Car Trunk: A Step-by-Step Guide
Lifting the 37‑pound Roamate mobility device into a vehicle can still be daunting for seniors with limited strength. After months of experimentation, beta tester Tom Manzell discovered that a drill‑winch plus a sled provides the most effortless and controllable way to load the Roamate. This guide condenses his experience into a clear, step‑by‑step process so you can replicate the method at home.
We have 4 videos here featuring Amy replicating different tools Tom has tested, you may consider watching the videos before you are ready to dive into the texts. We are only going to show the TM drill winch method in the text guide though, since this is the one best recommended by Tom.
The videos:
Tom’s wrap method & the hoist rope puller
Back seat loading:Julie’s Stool Method
Tools & Materials
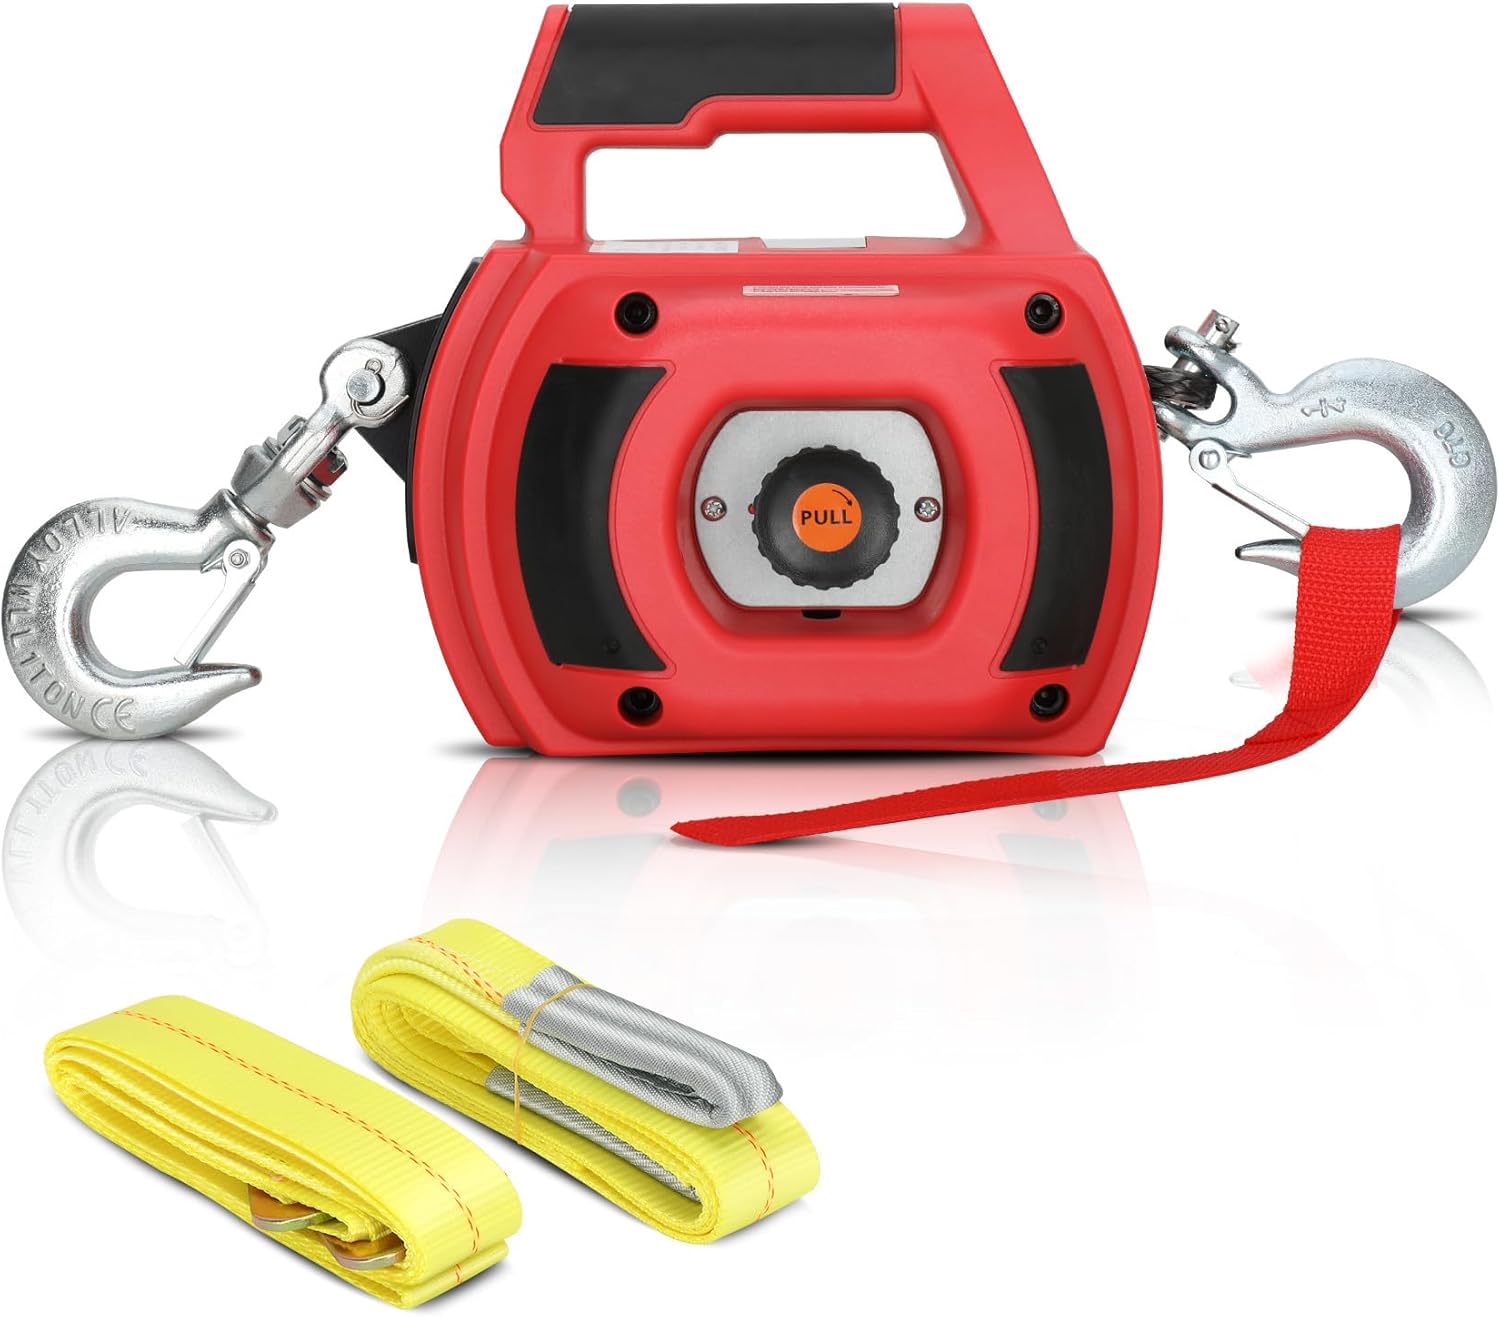
- Drill winch with synthetic rope
- Cordless drill ( Tom used this one, while we used a Bosch TSR1080 cordless drill driver)
- 4-foot hoist strap — longer straps create slack and complicate threading.
- Low-friction sled
- Optional mat — place under the Roamate to reduce friction during loading.
- Optional magnetic 5/16" to 1/4" nut-driver adapter — allows hands-free snap-on/off between the drill and the winch.
Your vehicle should have an anchor point for the winch – the center headrest bar of the back seat works well.
|
 |
Estimated total cost: Around US$175.
Step‑by‑Step Instructions
Prepare the area
Place the (optional) mat halfway into the trunk so that half extends outside the vehicle.
Set the folded Roamate beside the sled. Orient its drive wheels toward the left side of the trunk to protect the joystick and ensure the left armrest can nest under the sled handle.
Attach the winch anchor
Hook the drill winch’s rope to the centre headrest bar (or another secure anchor point) and pull out enough rope to reach the Roamate.
Wrap the hoist strap
Thread a 4‑foot hoist strap under the folded seat, over the right armrest, through the carry handle, back over the left armrest, and through the sled handle.
Clip the strap onto itself to form a loop that secures the Roamate to the sled.
Engage the winch
Attach your cordless drill (optional: fitted with the nut‑driver adapter) to the drill winch.
Slowly reel in the rope through the drill; the sled and Roamate will tip upward. Stop when the assembly is level with the trunk floor, then push the sled and Roamate fully into the trunk.
Unloading
Run the drill in reverse to gently lower the Roamate; once it reaches the ground, loosen the straps and hook point.
Tips for Success
Choose synthetic rope: Steel cables can bird’s‑nest and jam; synthetic rope spools neatly and is safer if it snaps.
Use the right strap length: Four feet is the sweet spot—longer straps introduce slack and make threading awkward.
Get the correct drill: Your drill should have a 3/8‑inch chuck or be adaptive to the shaft size of the winch you bought.
Add a magnetic adapter (optional): A magnetic 5/16‑to‑1/4‑inch nut‑driver adapter allows you to snap the drill on and off the winch hands‑free.
Check your positioning: Face the Roamate’s wheels to the left side of the trunk to protect the joystick and line up the armrest with the sled handle.
Exploring Alternatives
Tom tried a variety of tools during his beta testing—rope systems, ratchet straps, chain hoists and other electric winches. While the drill winch offered the easiest, most controlled lift, the other methods may suit different budgets or preferences. See the full documentation of Tom’s experiments for ideas and Amazon links to alternative tools, then choose the approach that best fits your needs.